
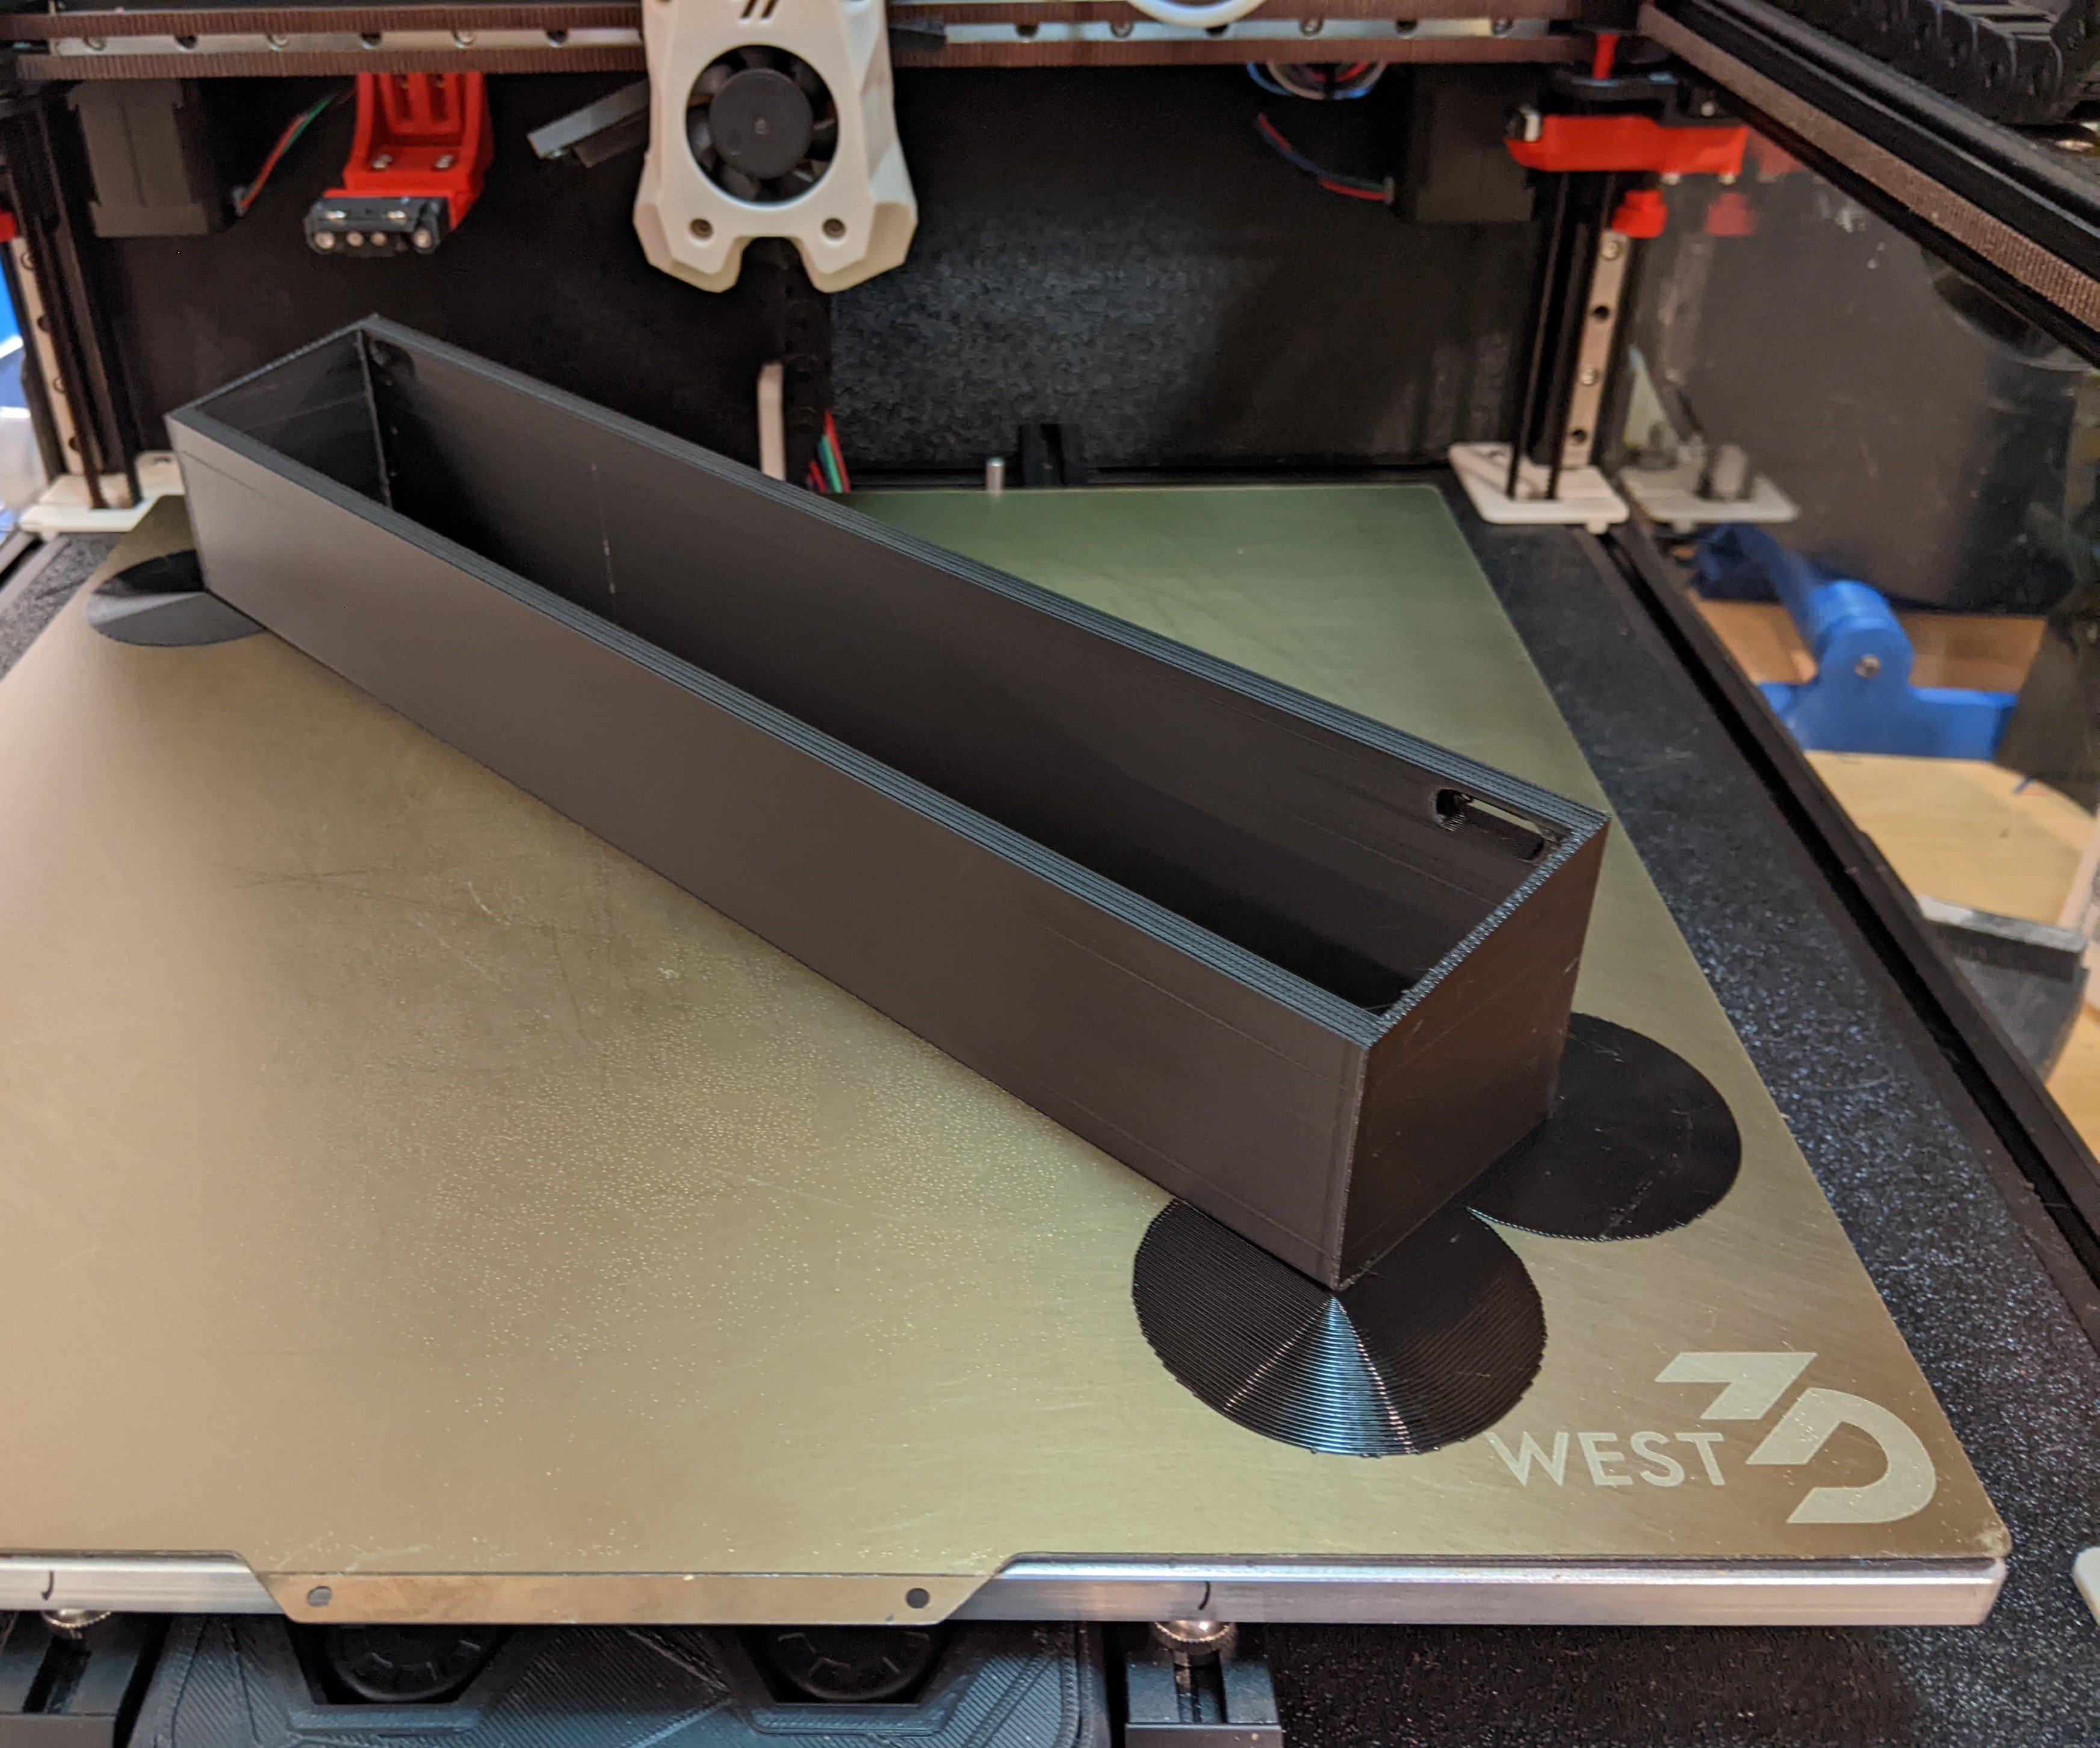
The part is a 345mm x 60mm spice rack that mounts to the inside of our pantry door.
About 7 years ago, I made four spice racks out of wood and painted them to match our cabinet door. Wear and tear (and kids) have resulted in them getting glued back together multiple times. I finally gave up, modeled the design, and have been printing replacements in PETG as they fail. So far they’ve been holding up a lot better. They’re also a touch deeper than my original wood design, so they can fit the round spice island containers more easily.
In the past, I had to print these in two halves on my i3 clone (a Monoprice Maker Select Plus, which is a rebadged Wanhao Duplicator i3 Plus). Now that I have a printer with a 350 mm^2 bed, I thought I would see if I could print the rack in one piece. My single ASA attempt was an epic fail due to warping, but the PETG print went very smoothly with very minor lifting. I’ve read others say PETG does not like enclosures, but I’ve printed a number of PETG parts with my Voron fully enclosed and they’ve come out very well. I struggled with PETG warping on larger parts with my unenclosed i3 clone.
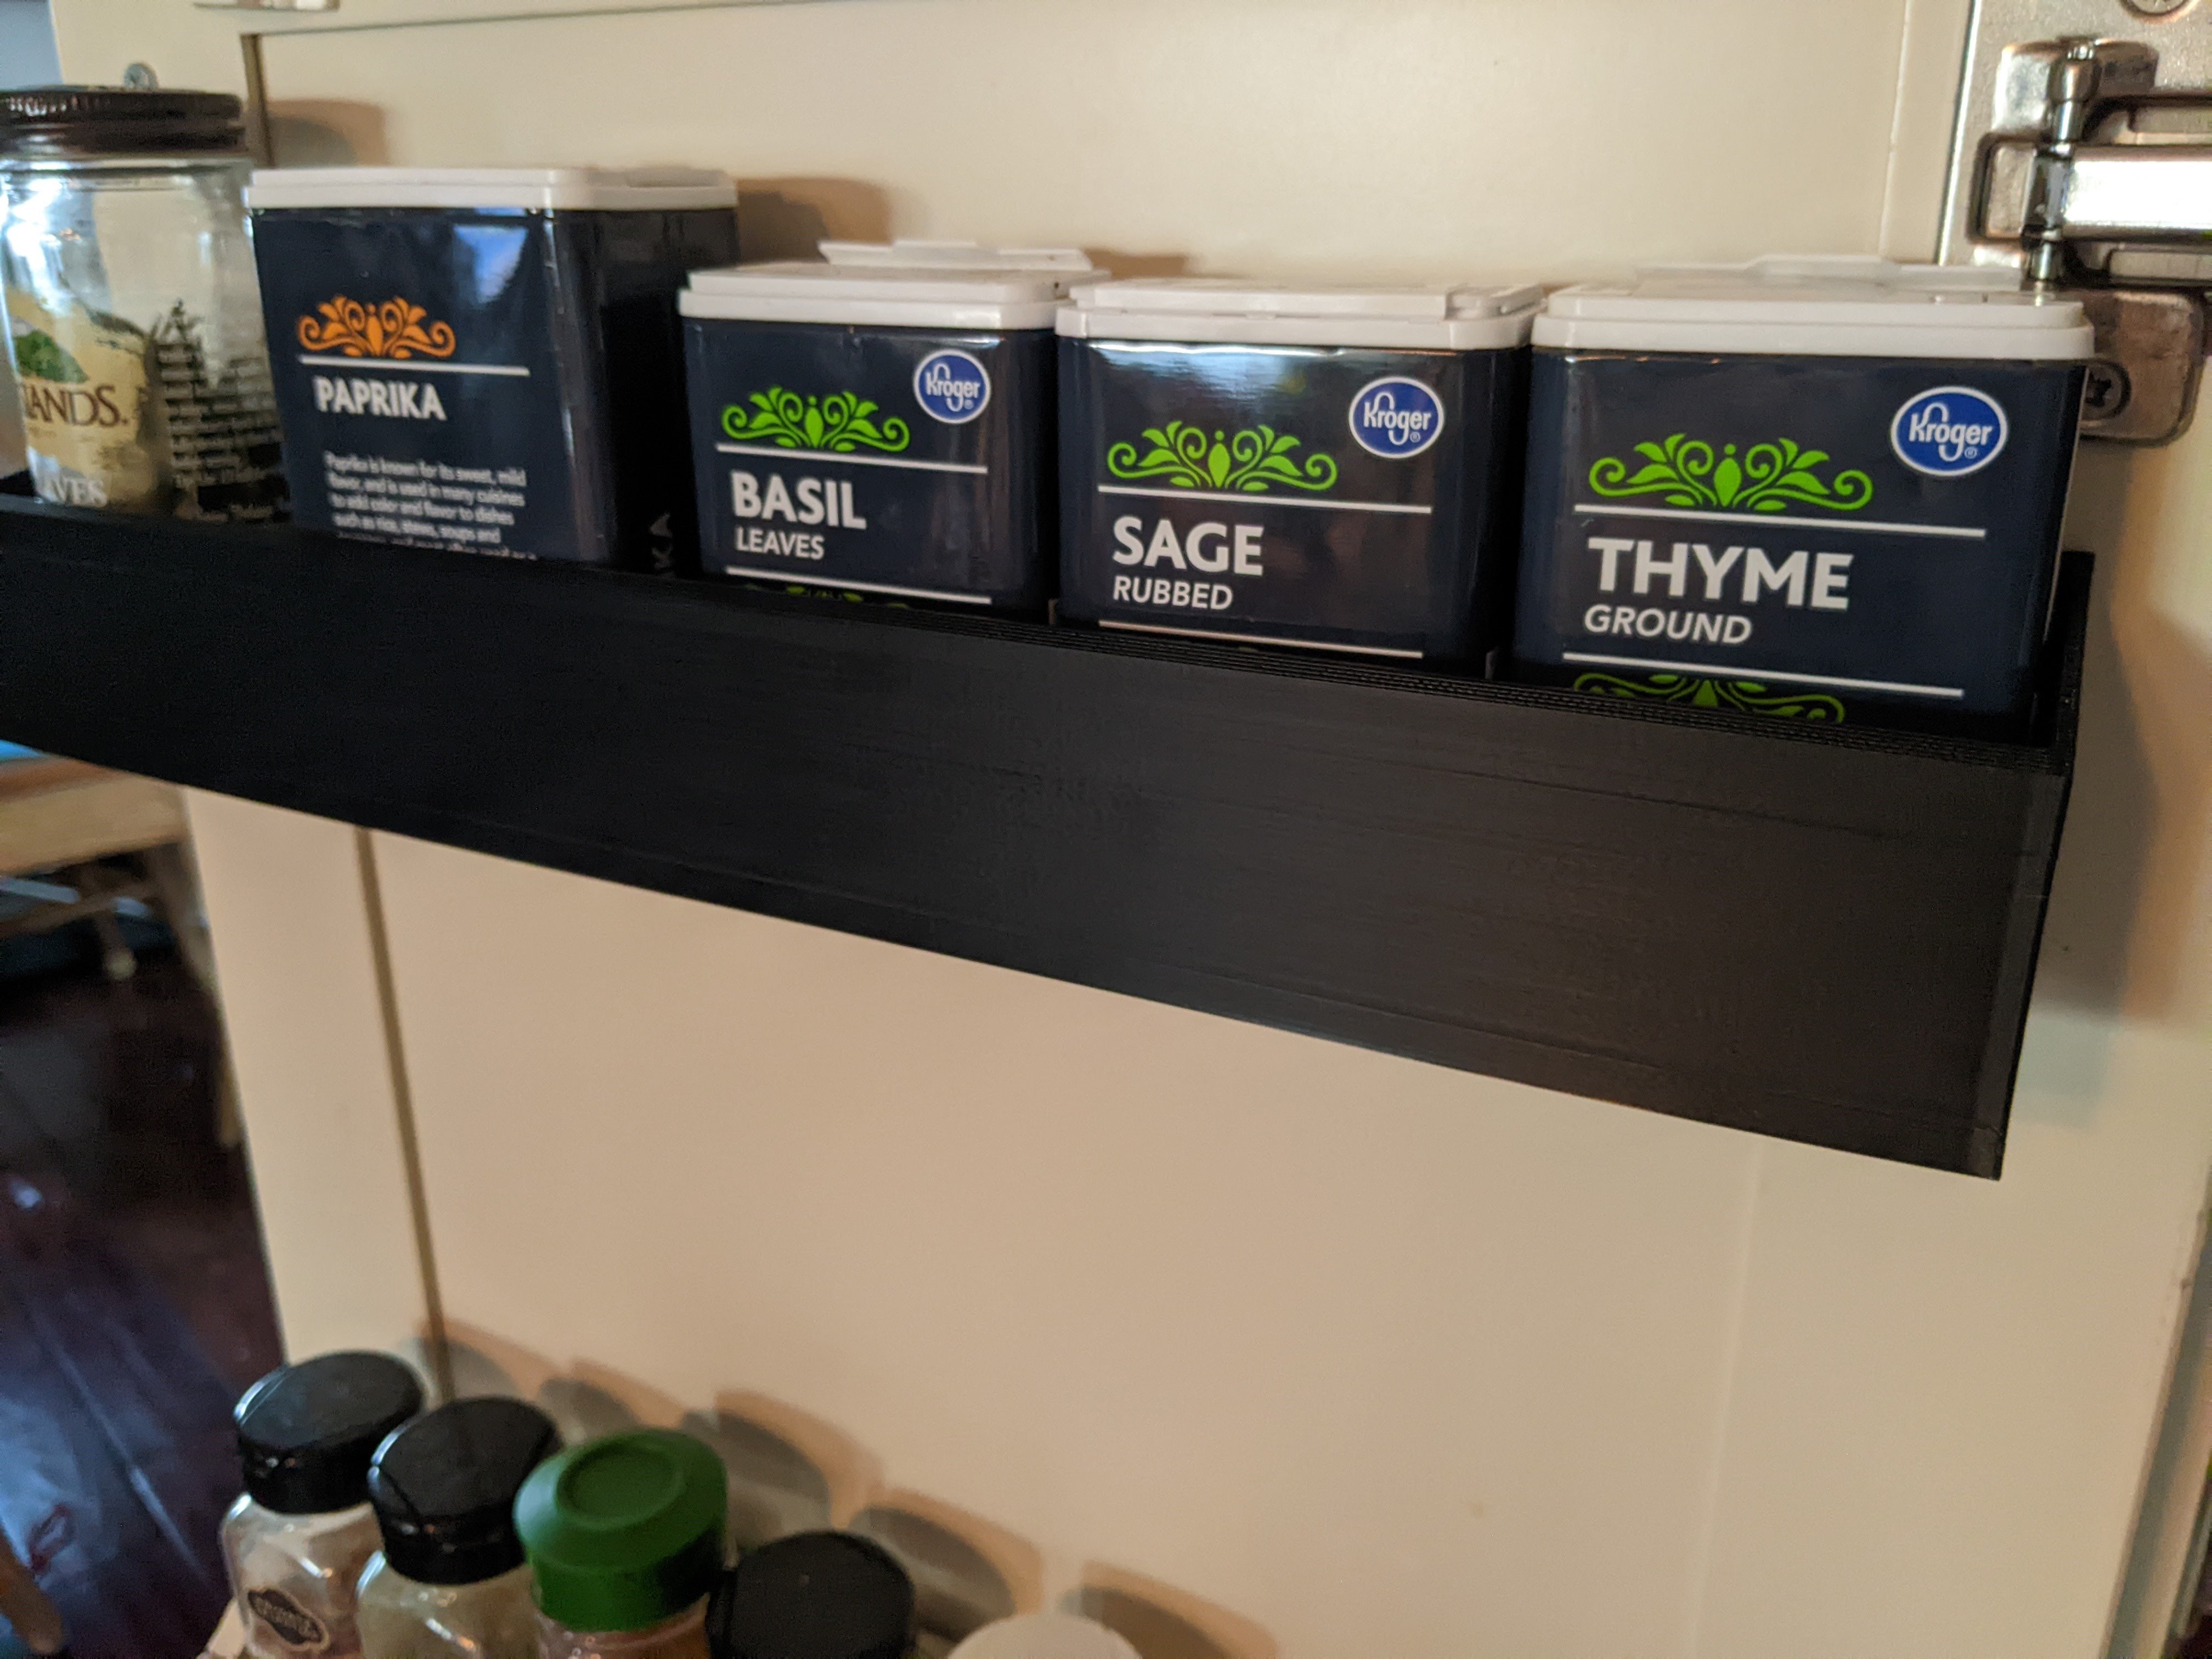
Here are a few photos comparing a rack I printed on my i3 clone to this one. The print quality is quite a bit better, but now that I have a higher ceiling to shoot for I’m realizing I have a further to go on my tuning journey. I will say that I never noticed things like the Slic3r buldge, that’s also present in Super Slicer, until now.
I personally find it helpful to see other’s prints under unflattering lighting, so with that said…
Somewhat flattering lighting (eg ambient)
Voron:
i3 clone:
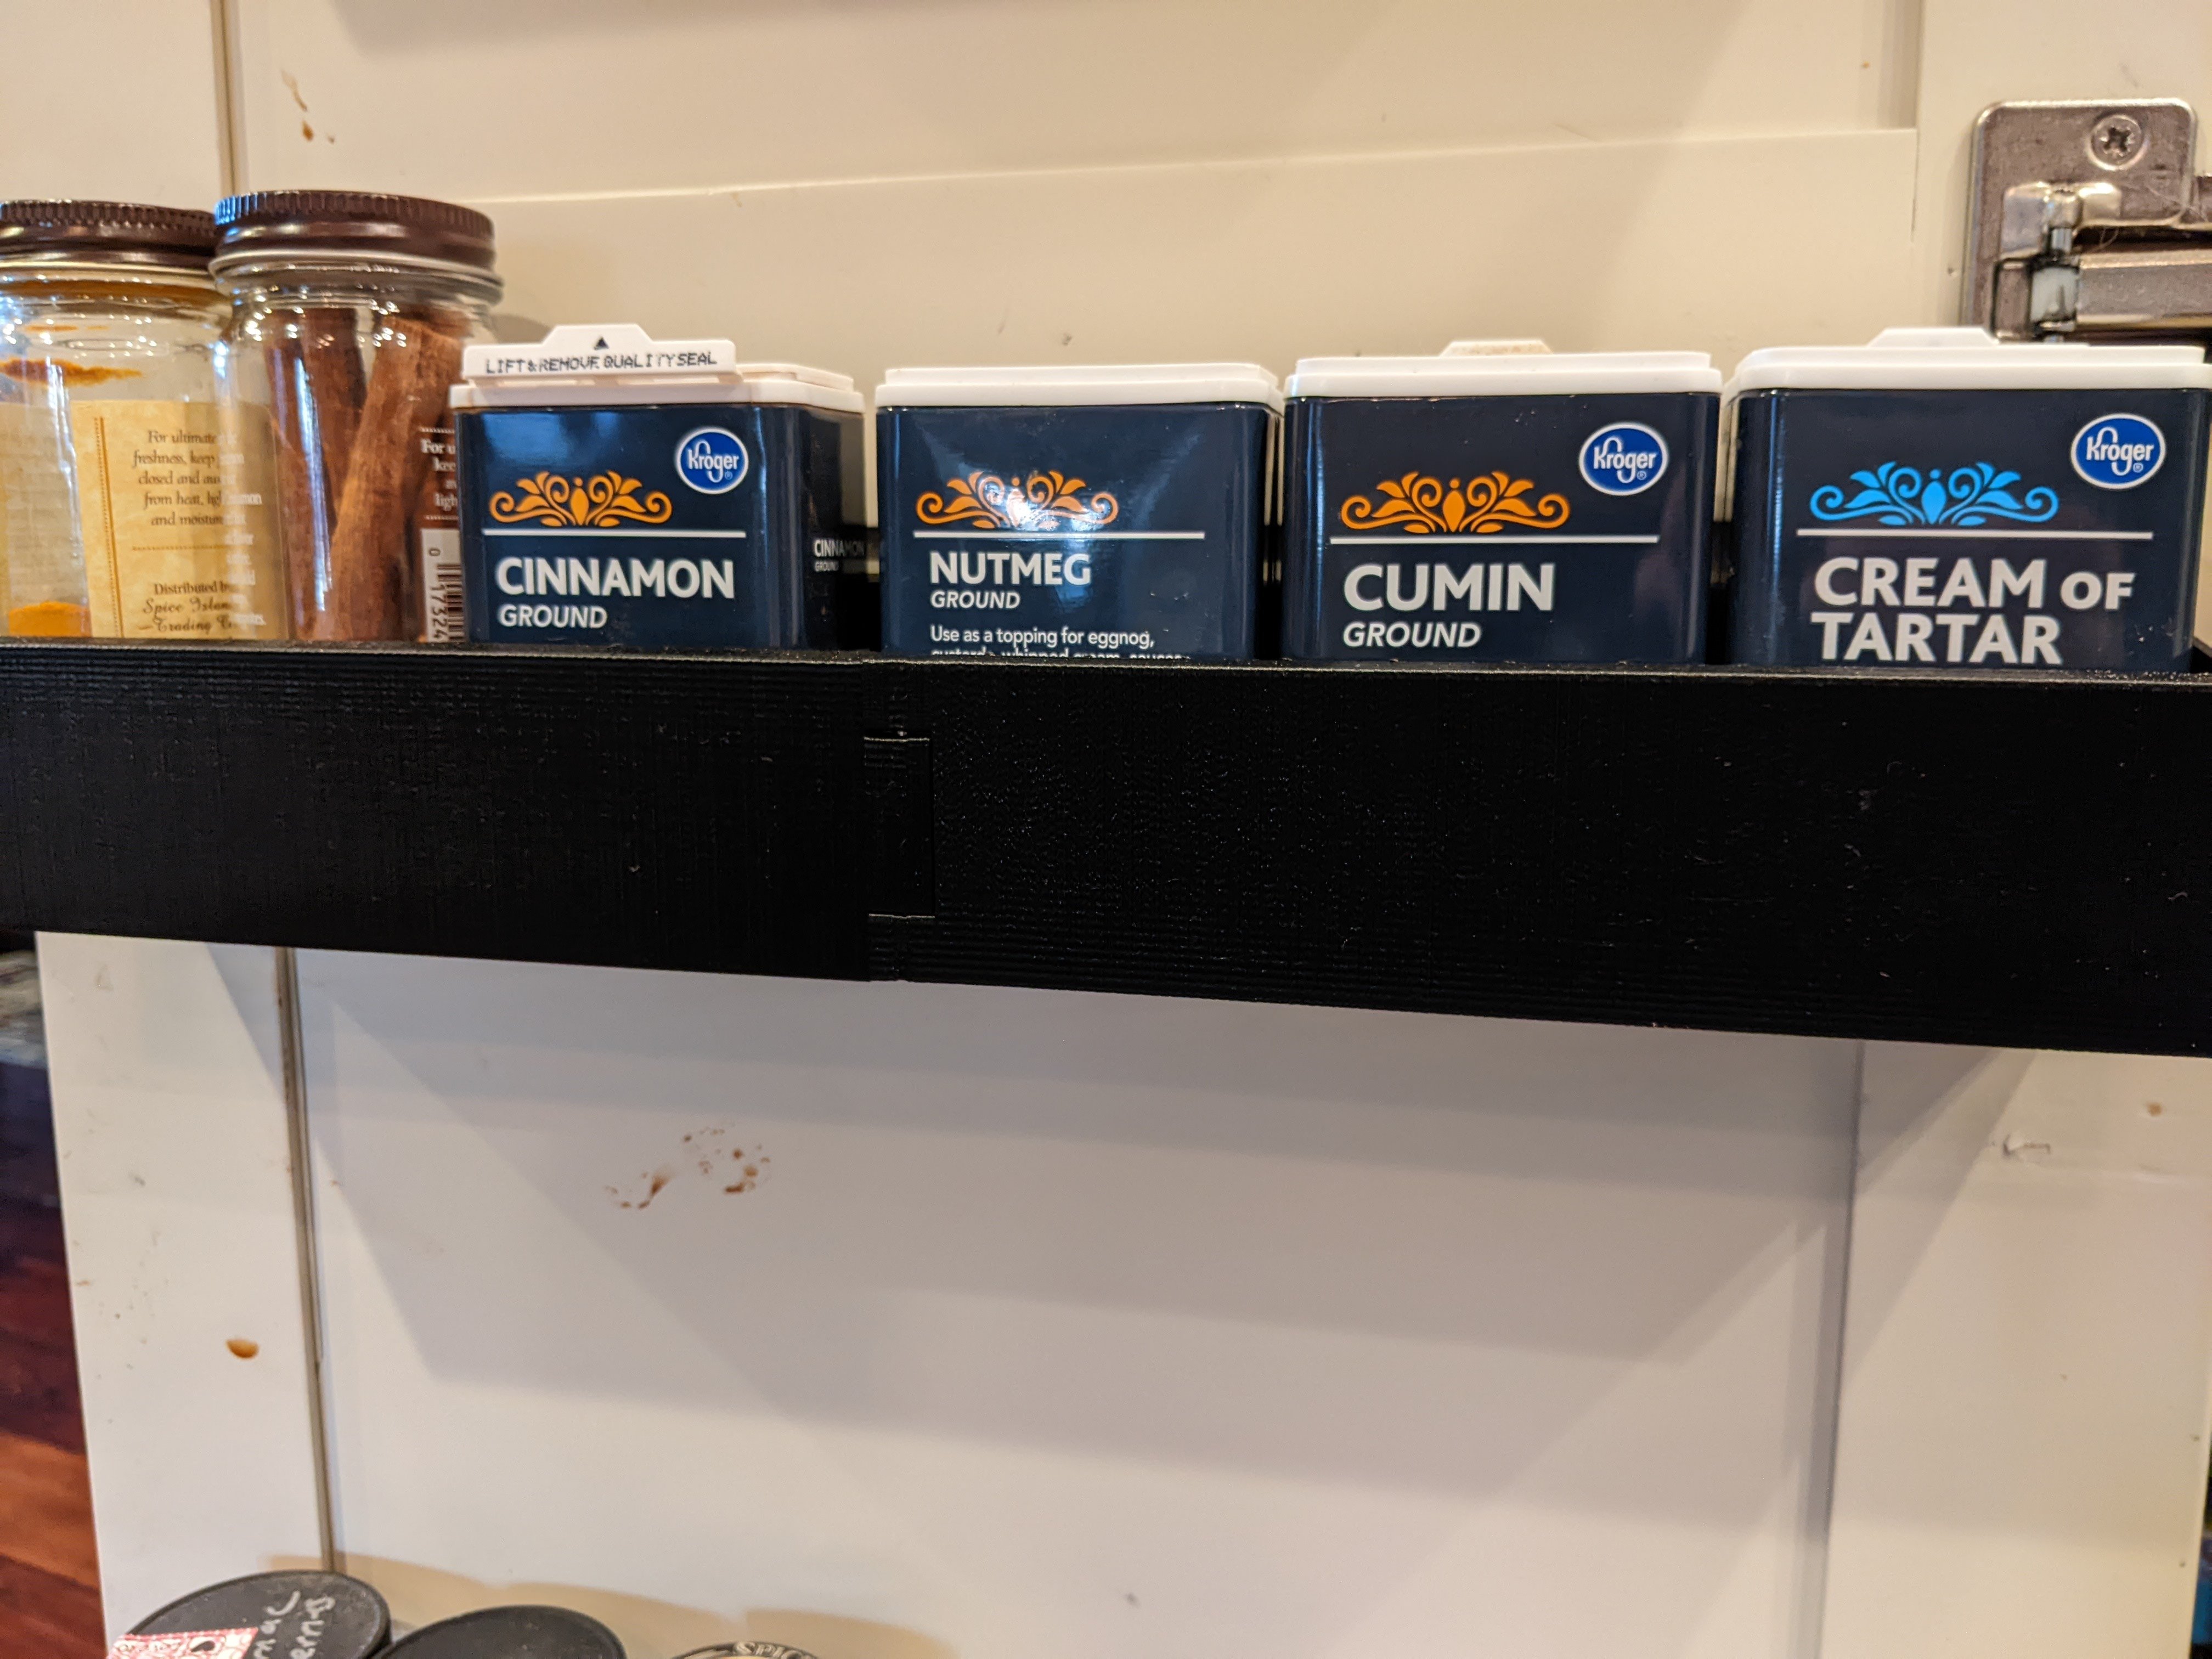
Direct light, provided via a flashlight, perpendicular to the surface
Voron:

I3 clone:
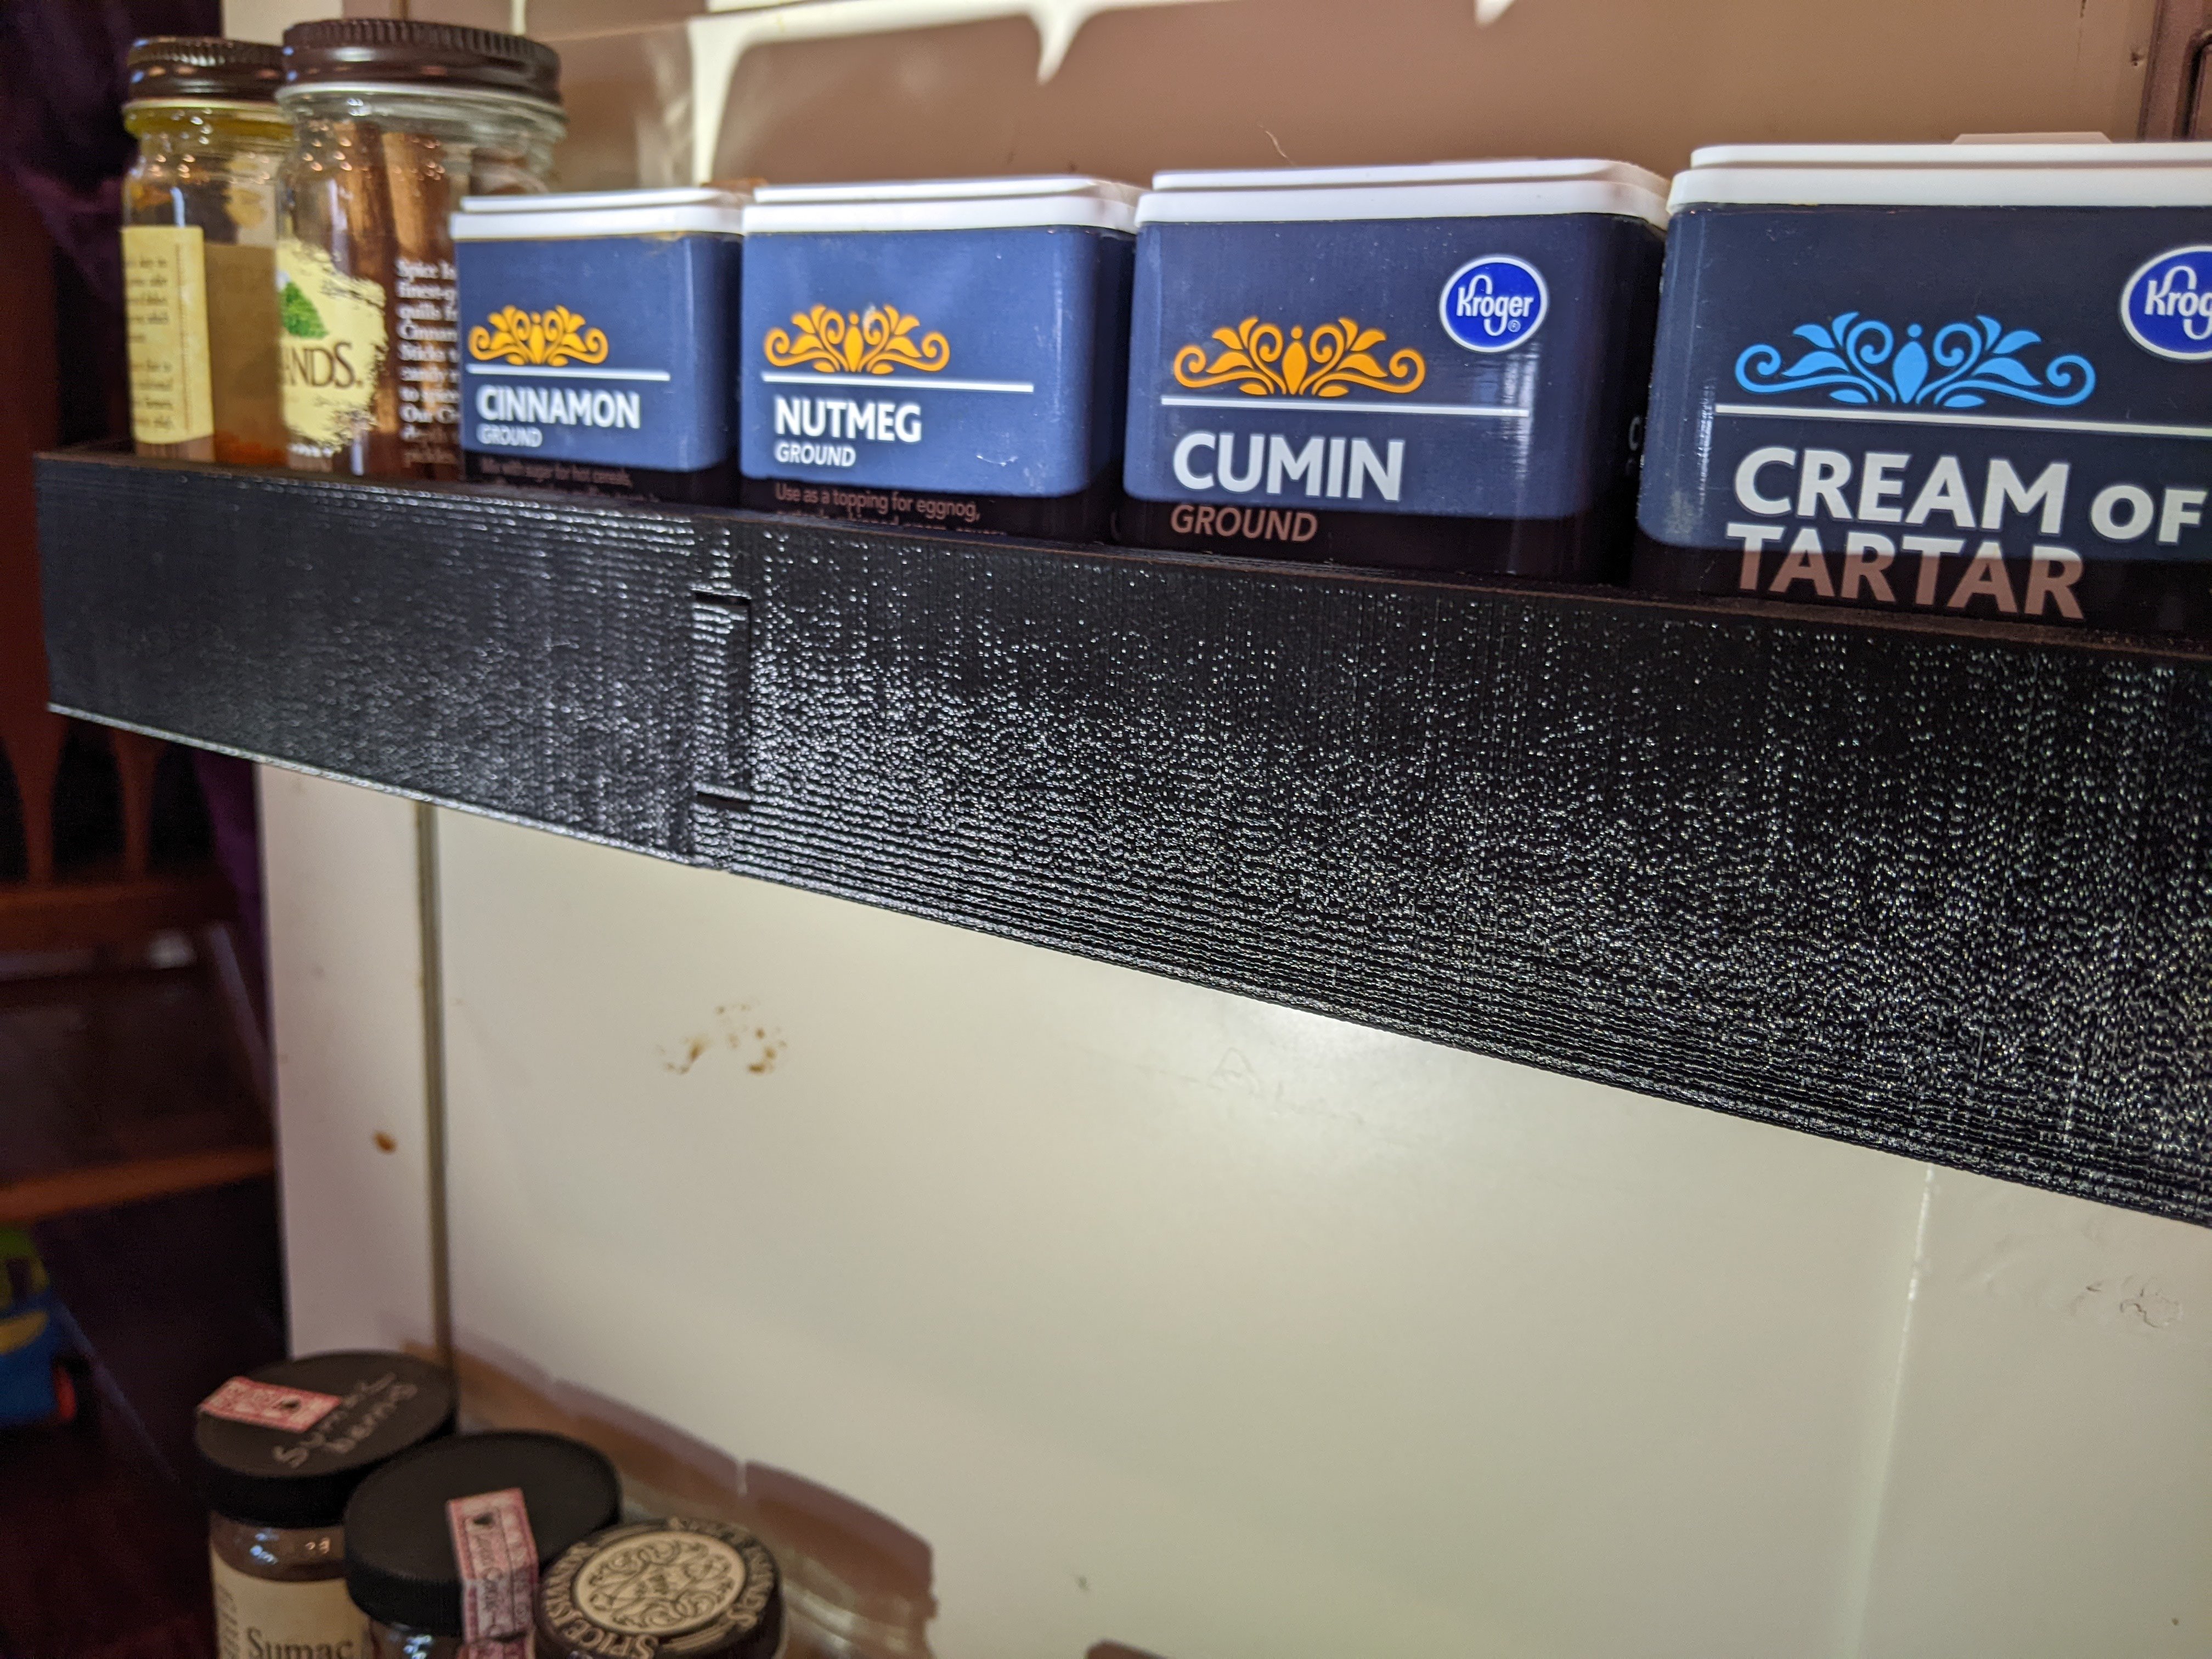
direct light, provided via a flashlight, nearly parallel with the surface
Voron:

i3 clone:

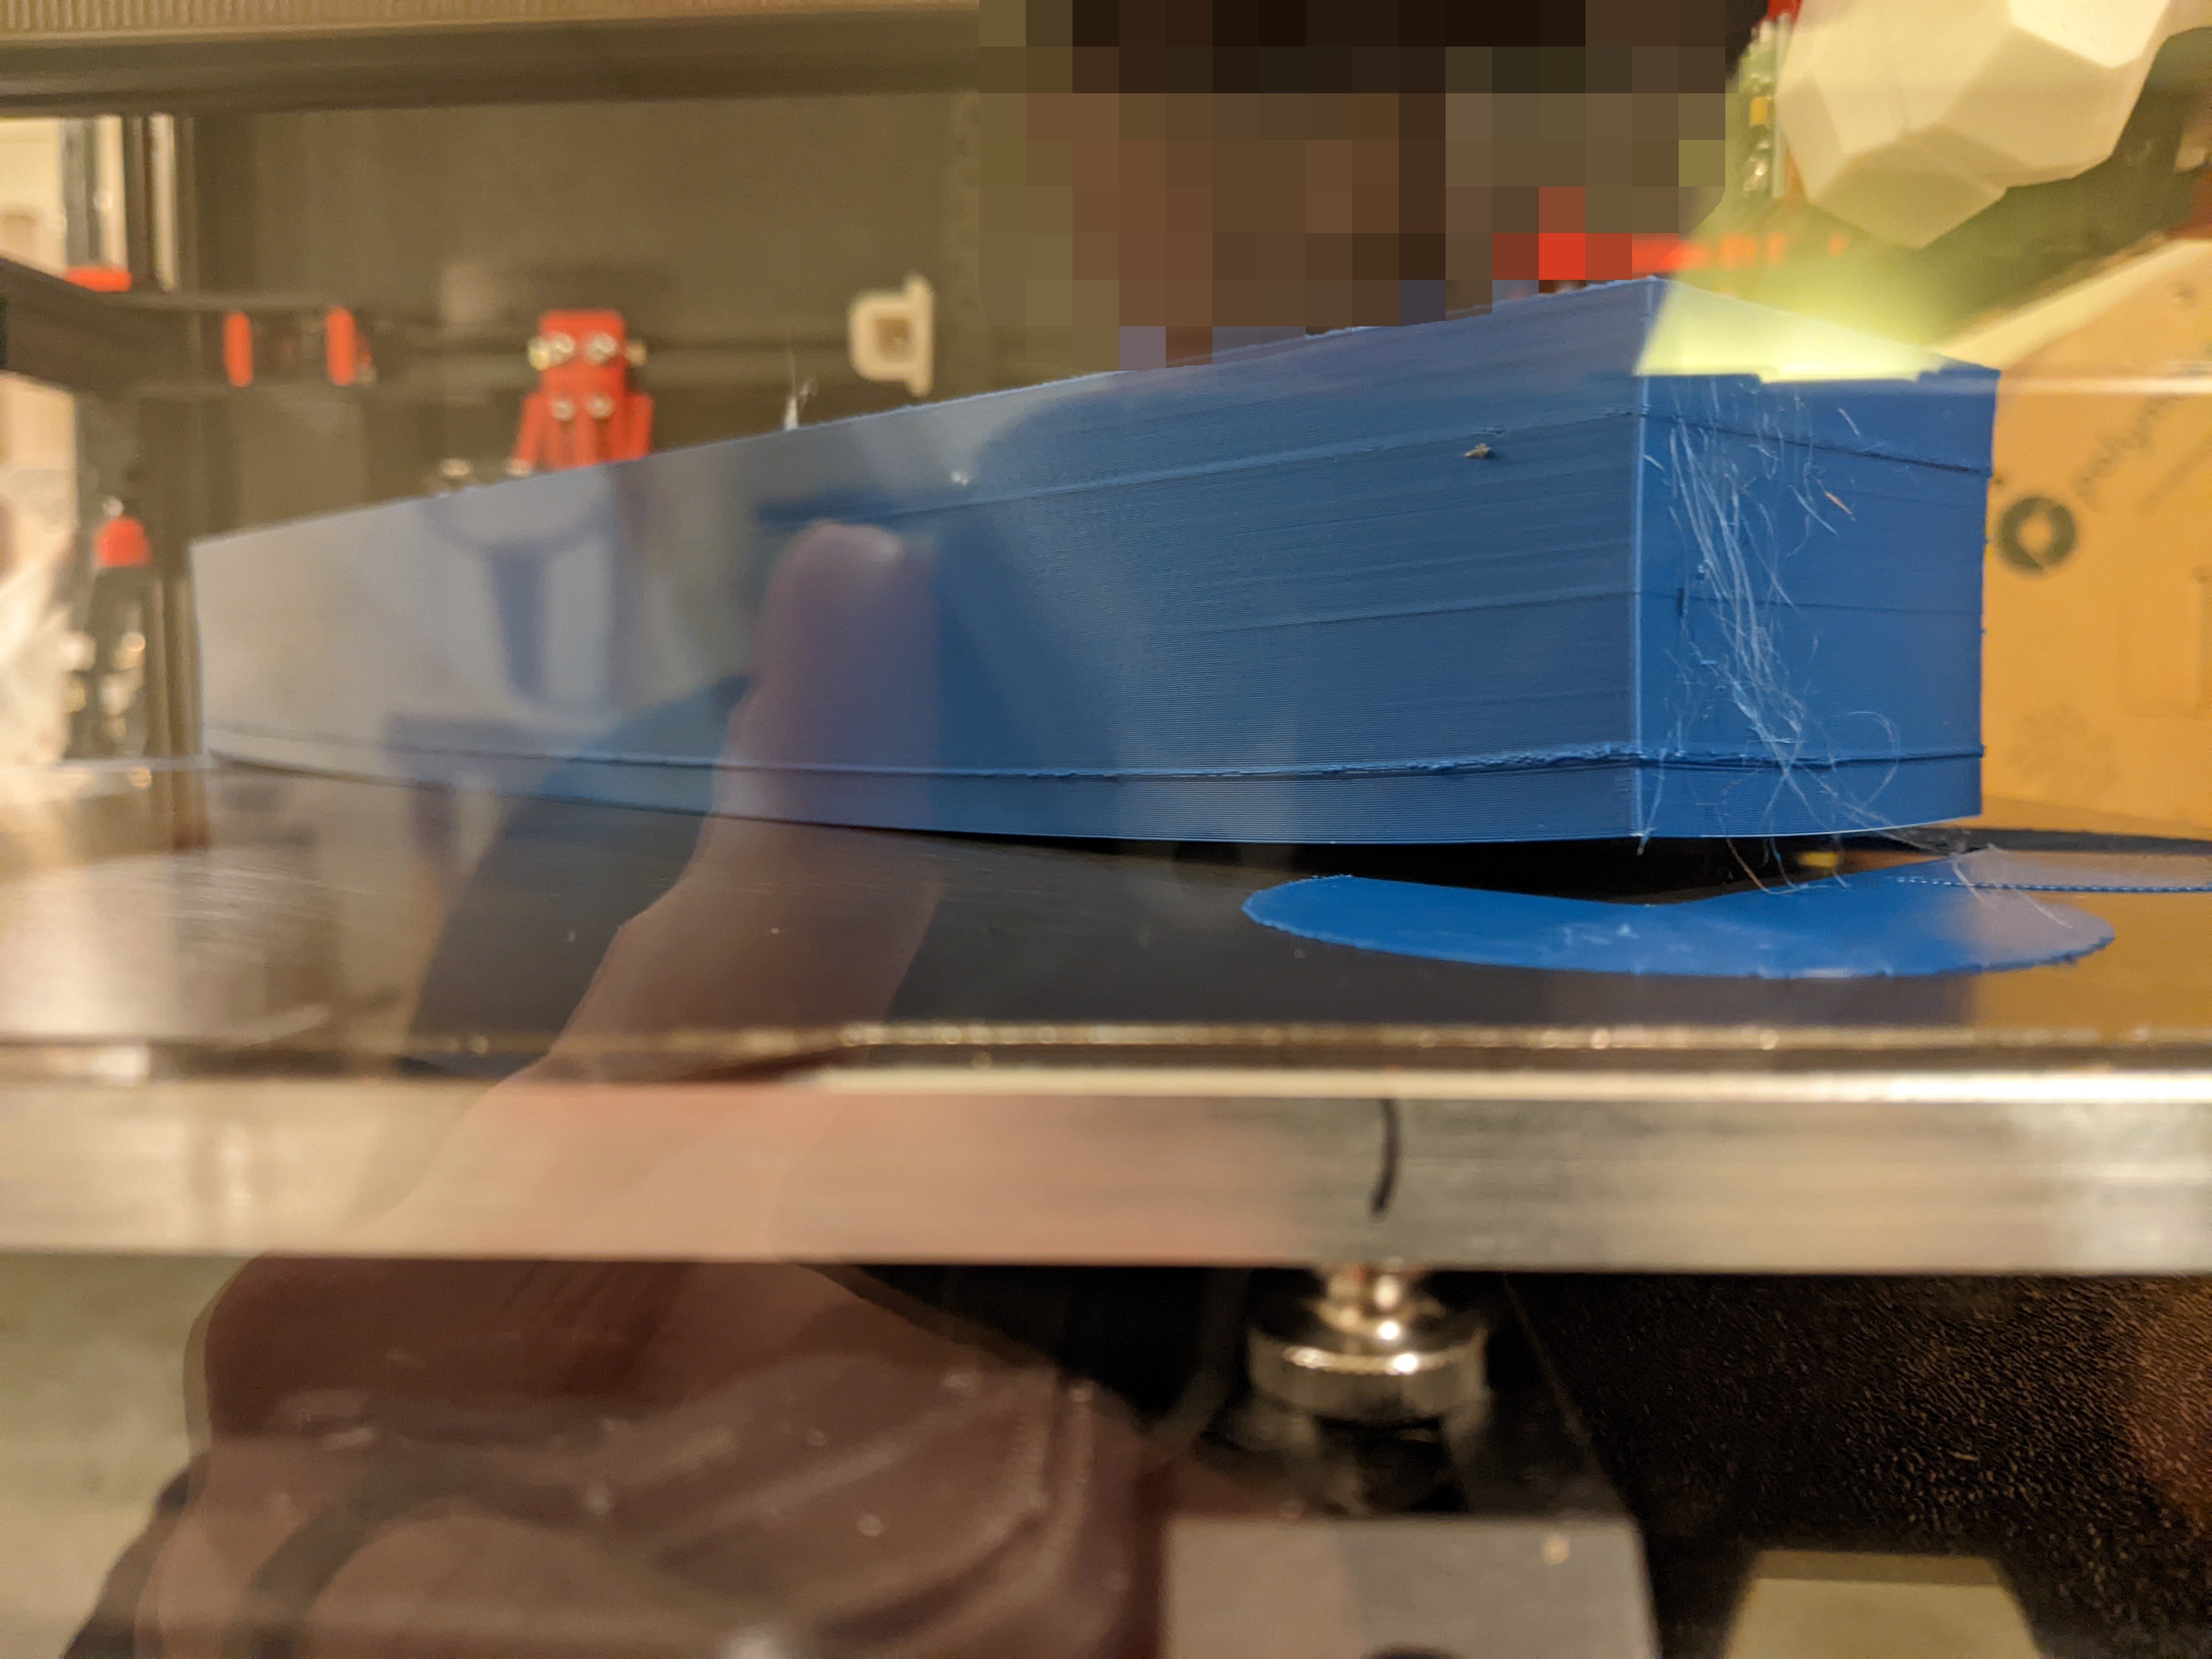
Bonus photo of my ASA attempt
Sadly, I forgot to change my print temp back from 250 to 240, so there’s quite a bit of wispy stringing. I suspect the print would have separated from the bed anyway. Any pointers here would be appreciated. The bed was clean (soap + water), was at 100, I let the printer heat soak for about 45 minutes with the filter going full tilt, first layer squish was solid good, smooth PEI (the textured side seems to have prints come loose more easily).
Do you use glue or hairspray for ASA ? I could not manage warping without hairspray.
It looks like your corners separate from the border. I have this issue du to the new “smart” borders from Cura. It turns in the other direction for this to be easily removed… I have disabled this feature.
The last idea if everything fails : I had to change the geometry of the thing to prevent big long fat stripes like the bottom of your item. Making it an hexagonal grid may help to diffuse the forces. The shrinkage will be diffuse instead of along the stripe.
No glue or hairspray. I’ve run a few kilos of ASA through the printer, but this is by far the highest aspect ratio print I’ve tried so far. Even if it had stuck to the bed, it’s possible that the bed itself would have lifted. I’ll have to try a longer pre-heat or just not attempt parts with this geometry in ASA.
The model was sliced in super slicer. There might be an option for an easier to separate brim, but it’s not enabled for me.